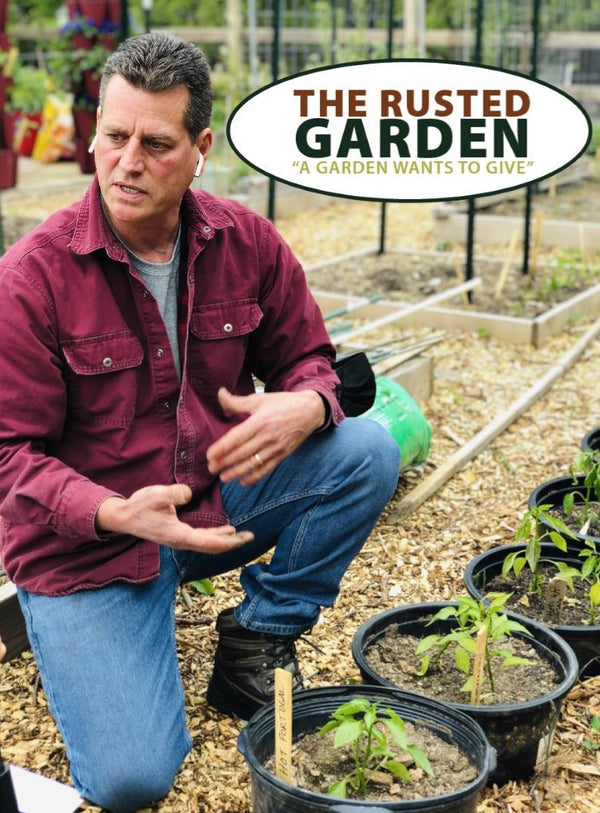
You don't need to buy expensive grow lights. Basic and inexpensive 4 foot white LED shop lights are perfect for starting seeds and growing transplants. Remember this... you are not growing them indoors to flower and fruit. You want to consider 2 ratings when buying shop lights. Lumens is brightness and you want lights that have 5000 or more lumens. You can grow with as little as 3000L but it is worth the time to look for 5000L or more. The next rating is light color and you want daylight as it mimics the sun. The Kelvin rating you want is 6500K but anything between 4100K and 6500K will work. Sometimes the Kelvin rating is not present, so look for the word 'Daylight' on the box. The basic shelf, for your setup, should be 48 inch to hold the lights and wide enough to hold a basic seed flat. A width of 18 inches is perfect.

Seed starting mixes are typically made with peat moss. Peat moss has a very good chance of having fungus gnat eggs. They sit dormant until moisture and temperature are met for hatching. And that is found under your grow lights. Fungus gnats will infest your seed starts and cause problems. The best defense is sterilizing any starting mix with boiling water. You do not need soil life for growing seed starts. They will benefit from microbiology, wonderfully, once outdoors. Boiling water will kill fungus gnats eggs and all life. That is good for seed starts. Pour boiling water into the seed starting mix to hydrate it, to the point the mix will drip if squeezed. It is better to use more water than you need and let the mix dry for several days, if needed. Not sterilizing starting mix is the biggest mistake all gardeners make.

You can really use any kind of containers you wish but make sure they have holes on the bottom. Holes typically allow excess water to drain out. With seed starts, I recommend watering from the bottom for two reasons. It is easier and cleaner. Watering seeds starts from the top takes a lot of time, it splashes starting mix around, disturbs newly germinated seedlings, and it can spread fungus and diseases. Along with your container you will need a seed flat or, basically, a watering tray. A foil baking pan works. If you want to purchase a collection of
flats, cells and transplant pots, please check out
my seed shop. All your containers go in the tray. Simply fill the bottom of the tray/pan with water and wait 20 minutes. What ever is not absorb dump out. Your seeds starts will wick water up from the tray through the container holes.
You will notice seed starting mix is al light brown color before it is saturated. That light color is the clue that your seed starts need to be watered. Once your seed starts are bottom watered, the mix turns a dark brown. Seed starting mix always dries from the top surface down. The surface top of your seed starts will turn from a dark brown to a light brown and that is they can be watered. I recommend waiting 1 or 2 days after the top turns light brown. There is plenty of moisture below the surface. Allowing the surface to dry helps manage potential fungus and mold problems. You water your starts and transplants when they need it. Fertilizing should be done with any water soluble fertilizer at 1/4 the recommend strength for outdoor use. Your plants are growing in an artificial environment and over fertilizing can be an issue. The goal is to get the N, P and K numbers close to 1,1,1 for reference. Begin fertilizing your plants about 10-14 days after they germinate. You can feed them 1 or 2 times a month based on their size.

The above video will cover these prerequisite topics and prepare you for growing you own transplants. Remember transplants at stores can easily cost $3. Realistically, after buying all your supplies, you will save money or break even the first year. The more transplants you need the more you save. After the first year, because you already purchased the lights, containers and shelving, the continuing costs are really additional seeds and seed starting mix. Each Seed Starting Indoor 101 class will be presented in a video at my YT Channel
The Rusted Garden Homestead and also presented here on this blog. Good luck!
Nearly 500,000 Subscribers and Over 1250 Garden Videos Designed to Quickly Present Information!
Visit The Rusted Garden Seed and Garden Shop for your Seeds, Starting Supplies, Fabric Pots, Neem Oil,
Peppermint and Other Oils, Calcium Nitrate and More.
The Rusted Garden Seed and Garden Shop


